Maybe I should have put this in the FUTURE thread...but...oh well..
I am trying to paint a clear piece to be transparent purple. Other folks have added food coloring to futura and gotten it to work. When I try this it doesnt seem to work well.
I have mixed the food coloring with futura until the resulting color looks fine when I paint it on a piece of paper. However, when I paint it on my test piece of plastic it does not seem to go on evenly, and does not give much color with one coat. When I try multiple coats it ends up looking more brown than purple...
Any suggestions?
Stilgar
Food Coloring and Futura
Moderators: DasPhule, Moderators
Fill your airbrush bottle up about half-way with Future to begin with. Also, mix the blue and red food coloring in (six drops of red, four drops of blue) until the mixture is a very, very dark purple. Then go slow, laying down many, many, many light coats on the back of the part. Count the number of coats for each nacelle in order to duplicate the depth of color. That's the method I came up with and they turned out great!
http://www.fourmadmen.com/gallery/displ ... p?pos=-938
http://www.fourmadmen.com/gallery/displ ... p?pos=-941
http://www.fourmadmen.com/gallery/displ ... p?pos=-943
Once you've allowed the Future time to cure, finish with a dullcoate to diffuse light that passes through the part.
http://www.fourmadmen.com/gallery/displ ... p?pos=-938
http://www.fourmadmen.com/gallery/displ ... p?pos=-941
http://www.fourmadmen.com/gallery/displ ... p?pos=-943
Once you've allowed the Future time to cure, finish with a dullcoate to diffuse light that passes through the part.
Last edited by krako on Mon Apr 10, 2006 2:45 pm, edited 1 time in total.
-
TER-OR

- Site Admin
- Posts: 10531
- Joined: Thu Jul 11, 2002 7:05 pm
- Location: Conjugate imprecision of time negates absolute determination of location.
- Contact:
Ink, ink, ink, ink, ink.
Get thee to thy local art shop and buy some red ink.
Buy some black India ink, too, it's a great transparent wash with Future.
Get thee to thy local art shop and buy some red ink.
Buy some black India ink, too, it's a great transparent wash with Future.
Raised by wolves, tamed by nuns, padded for your protection.
Terry Miesle
Never trust anyone who says they don't have a hobby.
Quando Omni Flunkus Moratati
Terry Miesle
Never trust anyone who says they don't have a hobby.
Quando Omni Flunkus Moratati
-
Lt. Z0mBe

- Posts: 7311
- Joined: Thu May 29, 2003 1:46 pm
- Location: Balltown Kentucky, by God!
- Contact:
Re: Food Coloring and Futura
Stilgar,Stilgar wrote:Maybe I should have put this in the FUTURE thread...but...oh well..
I am trying to paint a clear piece to be transparent purple. Other folks have added food coloring to futura and gotten it to work. When I try this it doesnt seem to work well.
I have mixed the food coloring with futura until the resulting color looks fine when I paint it on a piece of paper. However, when I paint it on my test piece of plastic it does not seem to go on evenly, and does not give much color with one coat. When I try multiple coats it ends up looking more brown than purple...
Any suggestions?
Stilgar
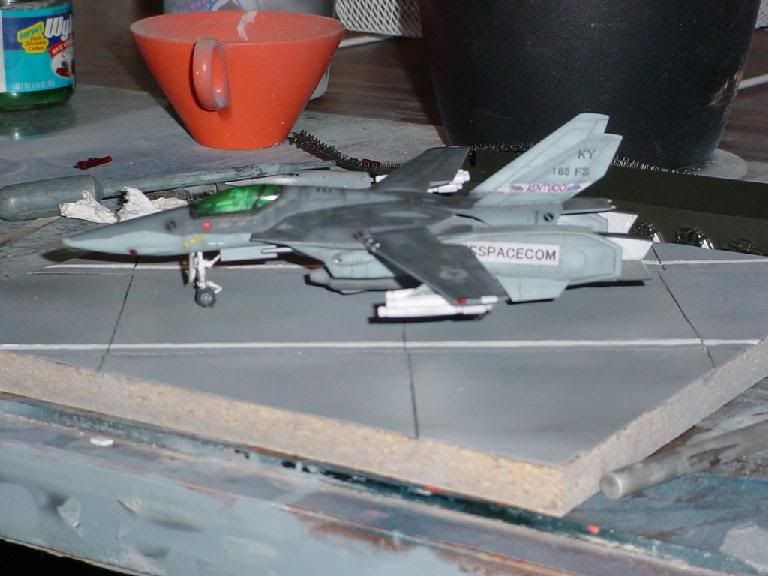
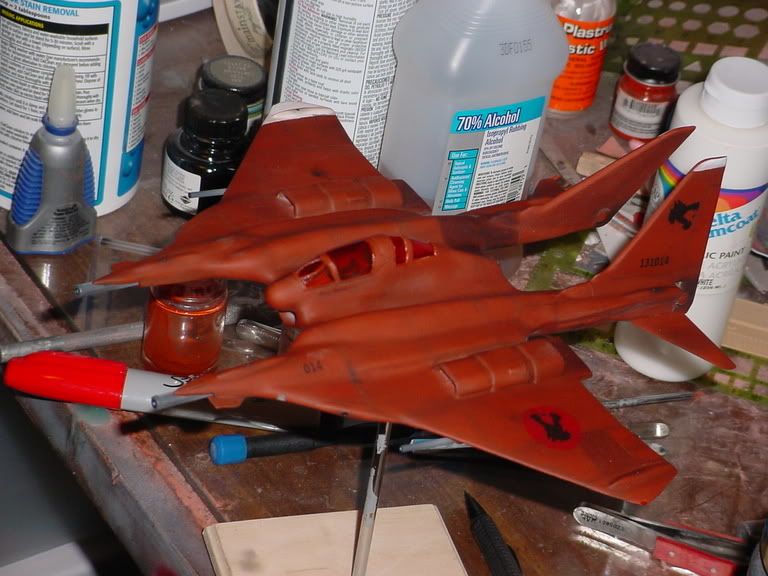
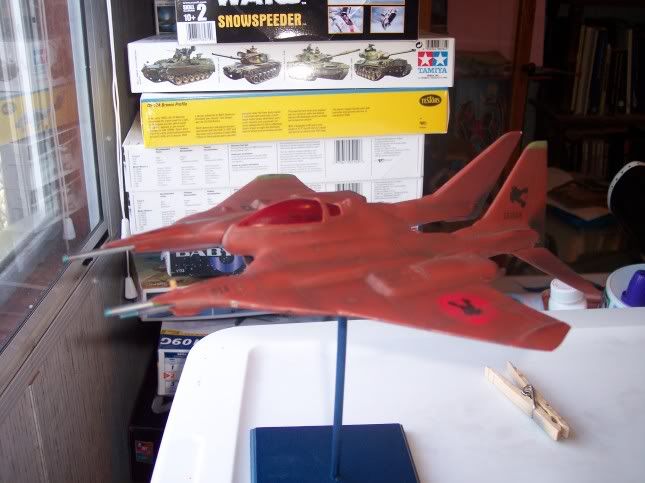
I used Future and food coloring to tint the canopies in the models below. It takes a looooong time to do, but it's worth it. I just added a few drops of coloring to an airbrush bottle of Future.
http://img.photobucket.com/albums/v161/ ... C00002.jpg
http://img.photobucket.com/albums/v161/ ... C00070.jpg
http://img.photobucket.com/albums/v161/ ... oad014.jpg
Here's what you do. High pressure mist from 10 inches away on the INSIDE of the piece. Make sure the coat is LIGHT. If the coat pools, then your job may be ruined, as you want an even coat.
Let it dry ten minutes. While it's drying, cover it with something to prevent dust. Repeat the process. What I do is do this for about 20 or 30 coats, during the duration of the build. When I'm finished, the canopy's finished. If it's a common color, like the red one, you can help the process along with a red Sharpie marker.
To hold the canopy, I placed it upside-down in Silly Putty so the inside was facing up to be airbrushed. I just left it on a flat piece of plastic during the duration of the build.
I hope this helps.
Kenny
-
kallen-bortas
- Posts: 169
- Joined: Wed Jan 04, 2006 3:32 pm
- Location: Ruston, LA
- Contact:
I read an article about mixing the Future w/ food coloring and dipping a canopy of an aircraft to tint it.
http://www.swannysmodels.com/TheCompleteFuture.html
I'm thinking of trying this when I work on my '69 Charger. Tint the back window.
http://www.swannysmodels.com/TheCompleteFuture.html
I'm thinking of trying this when I work on my '69 Charger. Tint the back window.
-
kallen-bortas
- Posts: 169
- Joined: Wed Jan 04, 2006 3:32 pm
- Location: Ruston, LA
- Contact: